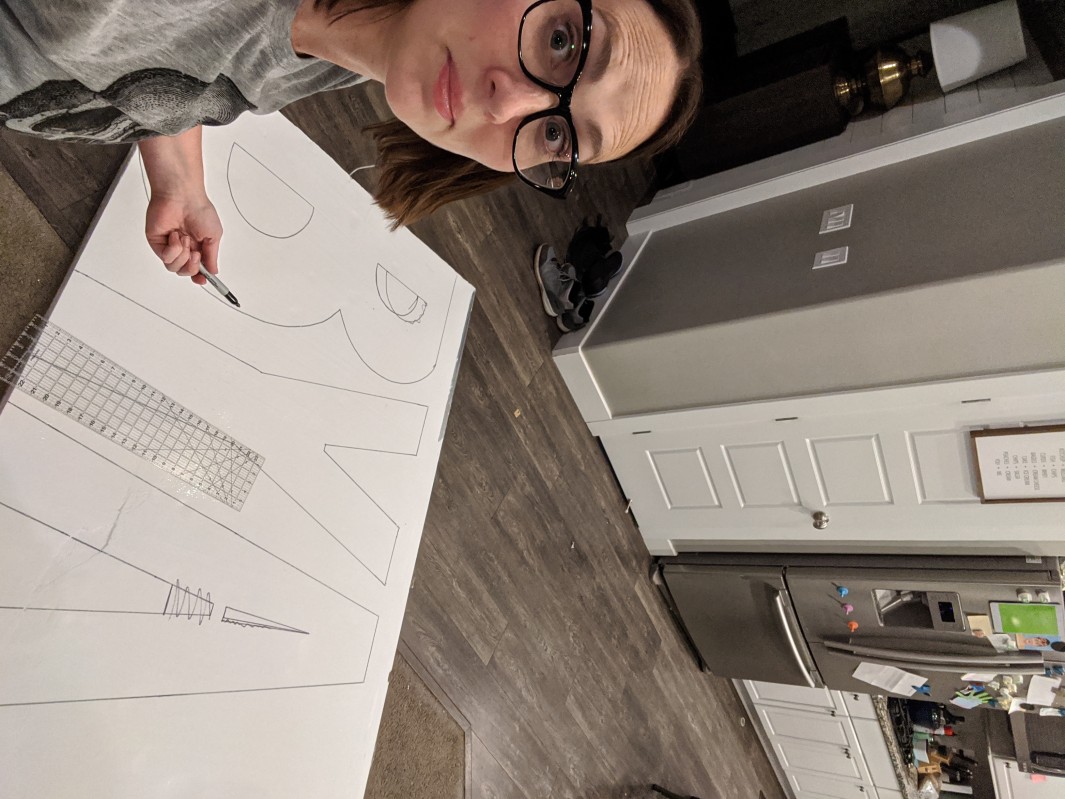
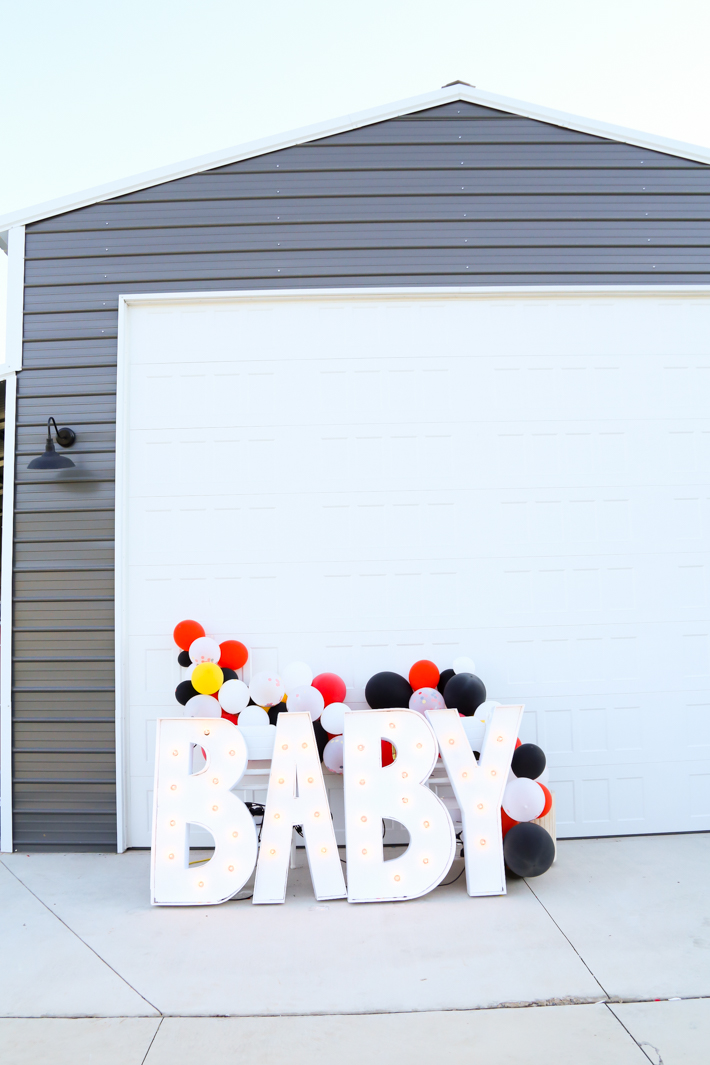
Have you seen the pictures popping up on the internet of parties with large marquee letters?! I have too, and WOW do they add to the decor!?! I love them. I went to go rent some for a baby shower and quickly realized they were a little out of my price range for the party I was throwing. A neighbor of mine had made some without lights for a few birthday parties. I picked her brain a little and decided this was totally something I could do. ANNNDD, even better, my husband had sheets of the insulation foam I needed just laying around at his warehouse. FREE FOAM! I put together a video of me making a letter B. It is the perfect letter to show the process with because it has straight sides and curves.
You can watch that video HERE!
SUPPLIES and TOOLS I used-
(Affiliate links)
foam cutter – https://amzn.to/3jkXbaF
rotary mat, guide, and cutter – https://amzn.to/2DWN1N7
fabric measuring tap
utility knife – https://amzn.to/3eKOJhv
2 inch thick insulation foam – I got mine from Home Depot
foam board – Bought at Hobby Lobby
white duct tape – https://amzn.to/32yPw2B
patio lights – Got mine at Costco
black sharpie

I started by drawing out my letters on the foam. I used 2inch x 4ft x 8 ft insulation foam sheets. I wanted to use the 2 in thick so that the foam could hold the lights in. If you don’t need lights you could easily use a thinner foam.
After I had cut the letters out with my foam cutter I began to put the edge pieces on. I cut the foam board to 5 inches wide and used hot glue to attach my edging. To cut out my lights I traced the circle base on the foam and spaced my lights about 8 inches apart.
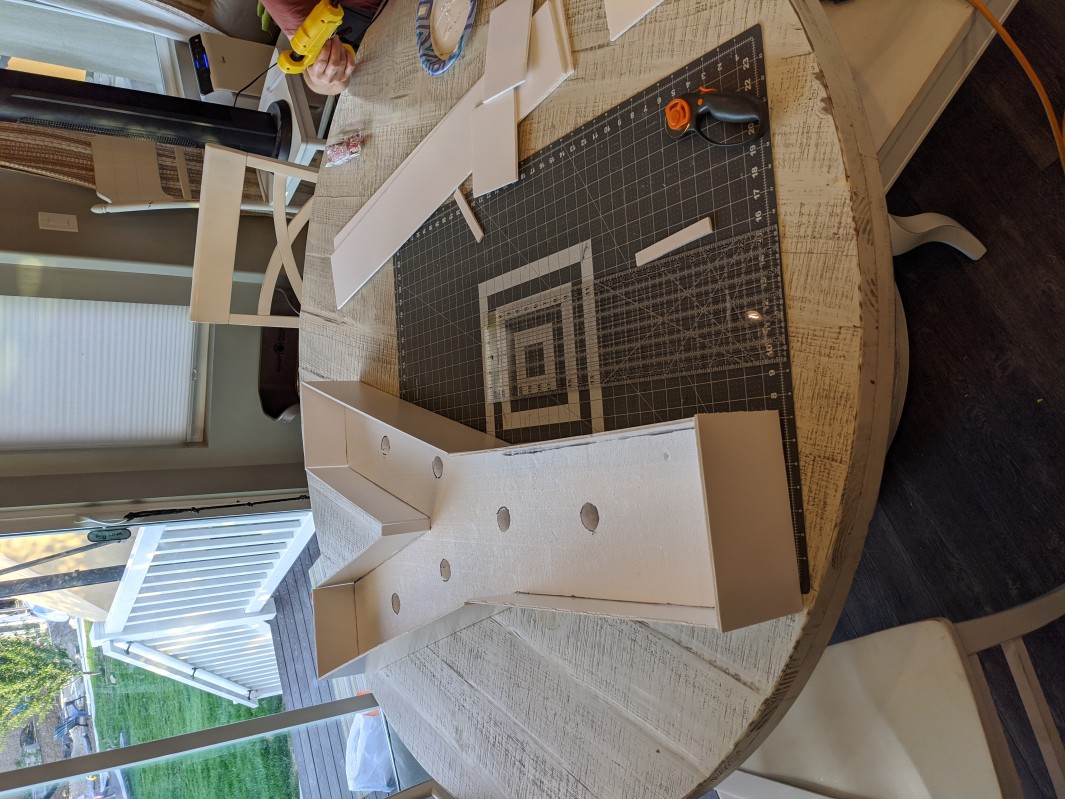
I also used white duct tape on any breaks in the foam board, where I had to piece it together. Duct tape was also applied to every corner.
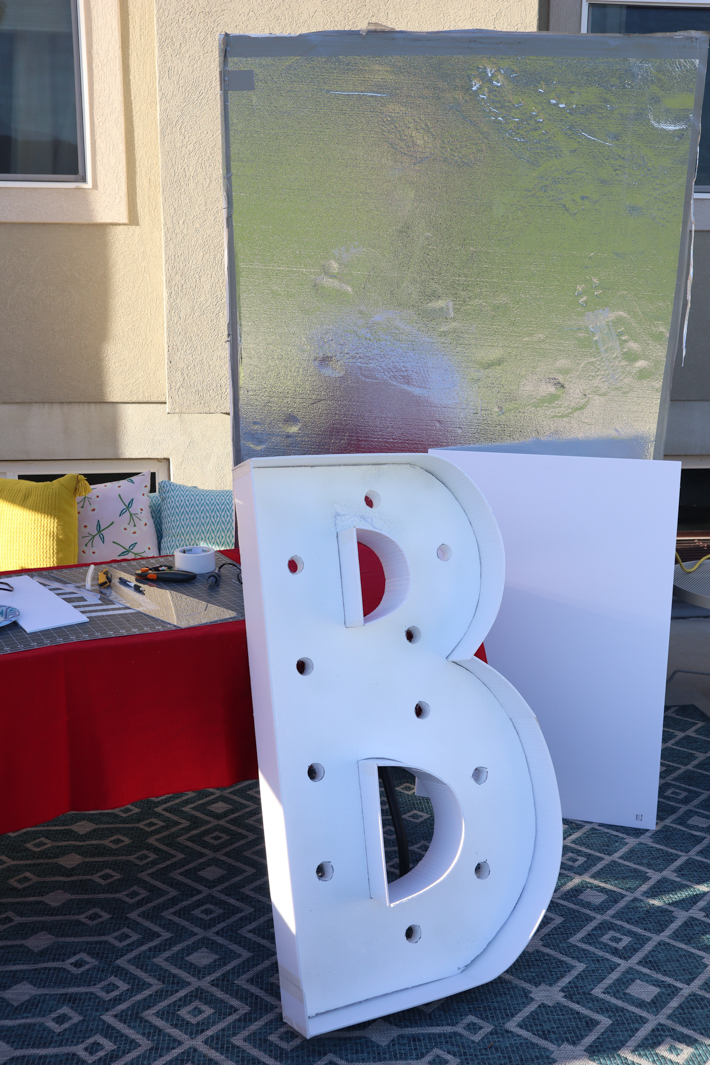
Also important TIP!! DO NOT SPRAY PAINT your foam letters. The spray paint will eat away and dissolve the foam. I learned the hard way. If you need to paint them just use craft paint.
What other questions do you have?!


Where did you get the stencil for the letters