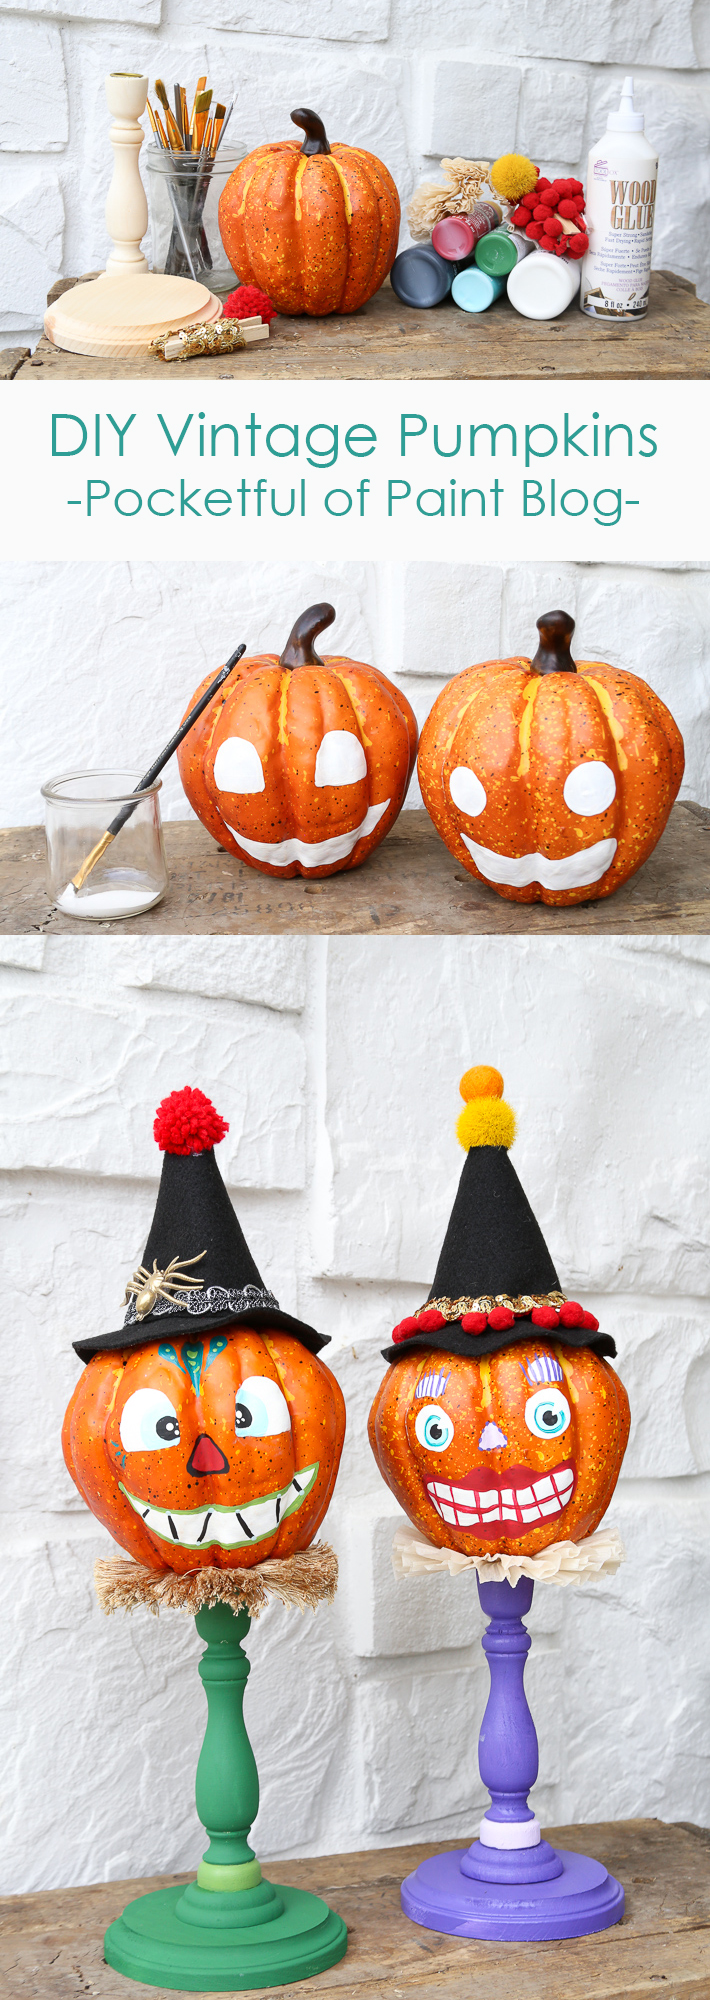
I have a really fun and easy watercolor project for you! This project is great for a beginner watercolor artist OR you more advanced folks could take this idea and totally jazz it up. Maybe I should say,”Spookify” it up!
First things first! What are you going to need??!
Well, there are two ways to do this project.
For both you will need:
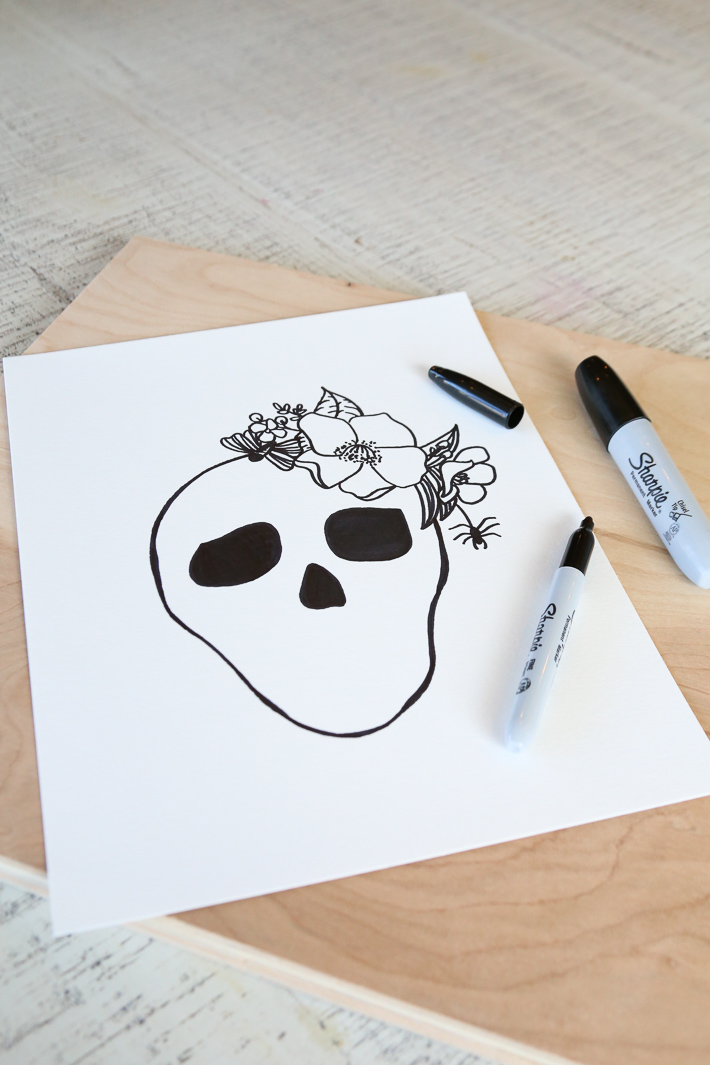
- Download and Print the Skull- Click HERE
- Watercolor Paper
- A Watercolor Brush- 1-Inch Flat
for the masking project or a size 8
round for the circle project
- Watercolor Paints
- Jar of Water
- Pencil
- Sharpie
For the Masking Project you will also need:
- Blue Painters tape or Artist Tape
- A Cheap Brush or Masking Nib
- Masking Fluid
You can find a full list of supplies I recommend for beginning watercolor artists HERE
You can download this as a JPG or PDF. Click on the buttons below to get started.


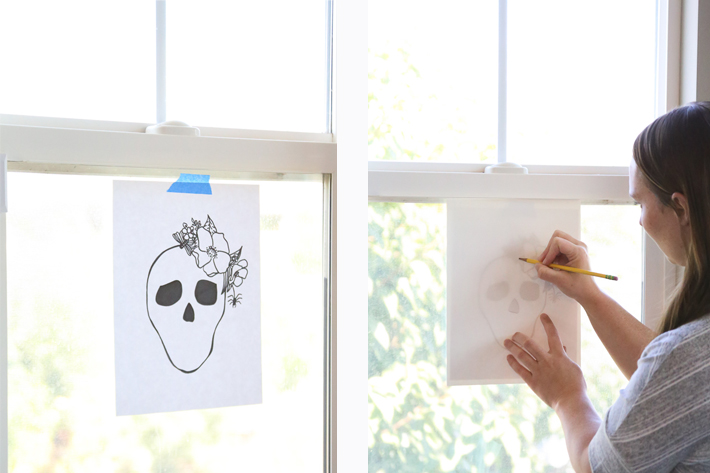
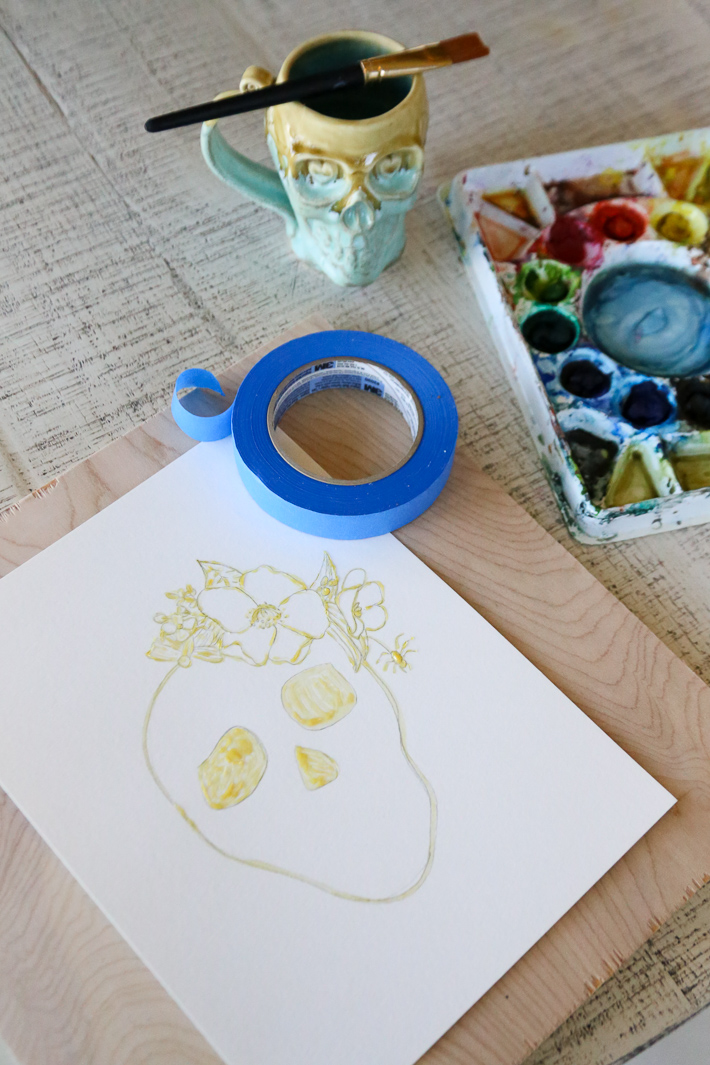
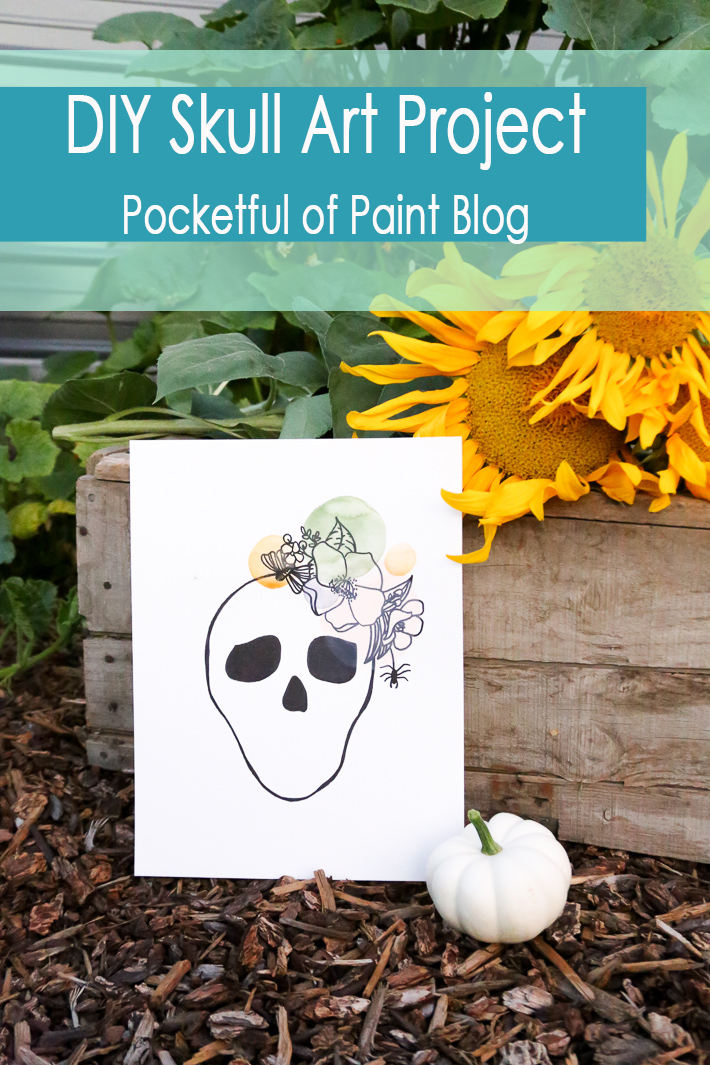
Once you have that printed you can tape it up to a window to trace or free hand it onto your watercolor paper.
I was inspired to add these flowers to my skull from a recent class I took through the Crafter’s Box. If you like getting crafty you need to check them out!
Once you have your skull drawn out on your paper you can begin to apply your masking fluid. Masking fluid is often used in watercolor paintings to help shield the white of the paper from getting any pigment on it. This is where your cheap brush or masking nib comes in. Masking fluid WILL RUIN your nice brushes, so don’t use those for this part. The fluid will clump up on the brush as you use it. Make sure to clean your brush every couple of minutes and keep the lid on the bottle when you are not using it.
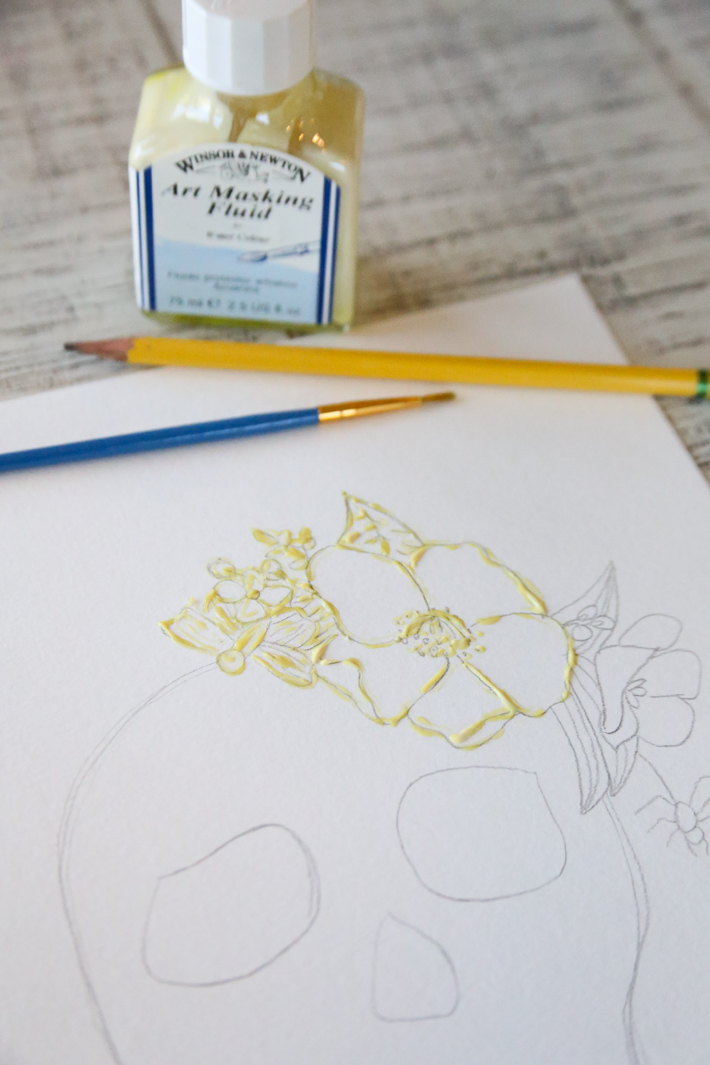
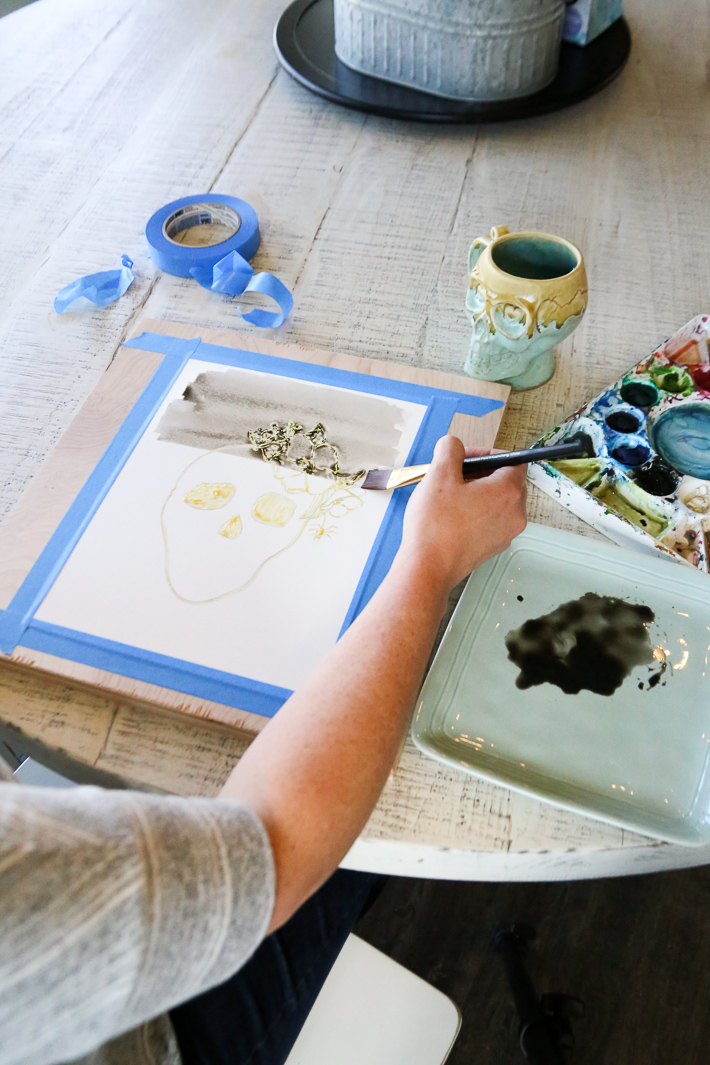
Trace your pencil lines with the masking fluid. When you have completed that step you will need to tape your paper down to a solid surface. I use blue painters tape, but you can use artist tape if you like. They both work great!

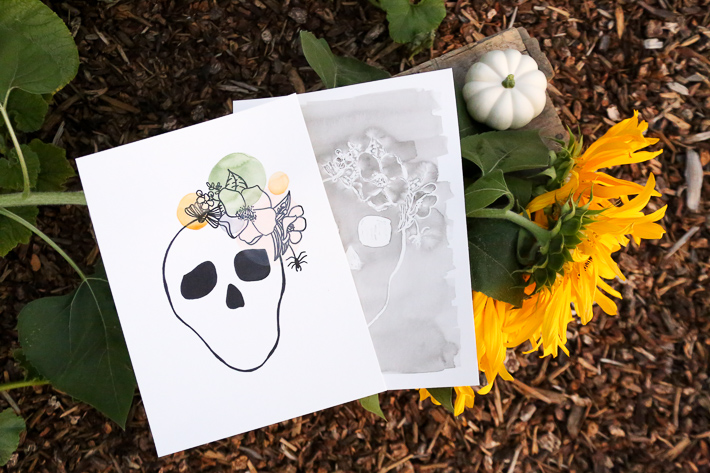
You can use any color you like for this part. I chose black, but any Halloweenish color would work! You can do this two ways. Wet the entire paper and do your wash wet on wet OR get your paint ready and do smooth strokes over the dry paper. I did wet on dry so I could get a fun edge around my piece. I can’t wait to see what YOU do!
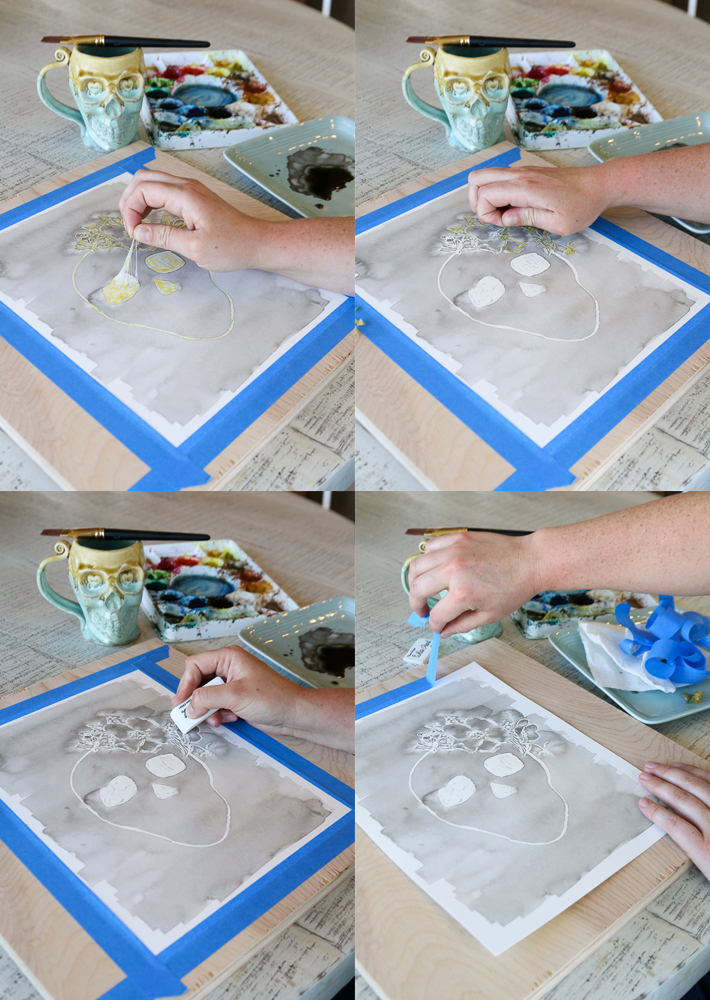
When you are done painting and it is dry, you can start to peel off your masking fluid. Use your fingers or an artist eraser to peel it up. You can also use the eraser to remove some of your pencil lines. Be careful not to rub off your paint.
Now for Option 2!
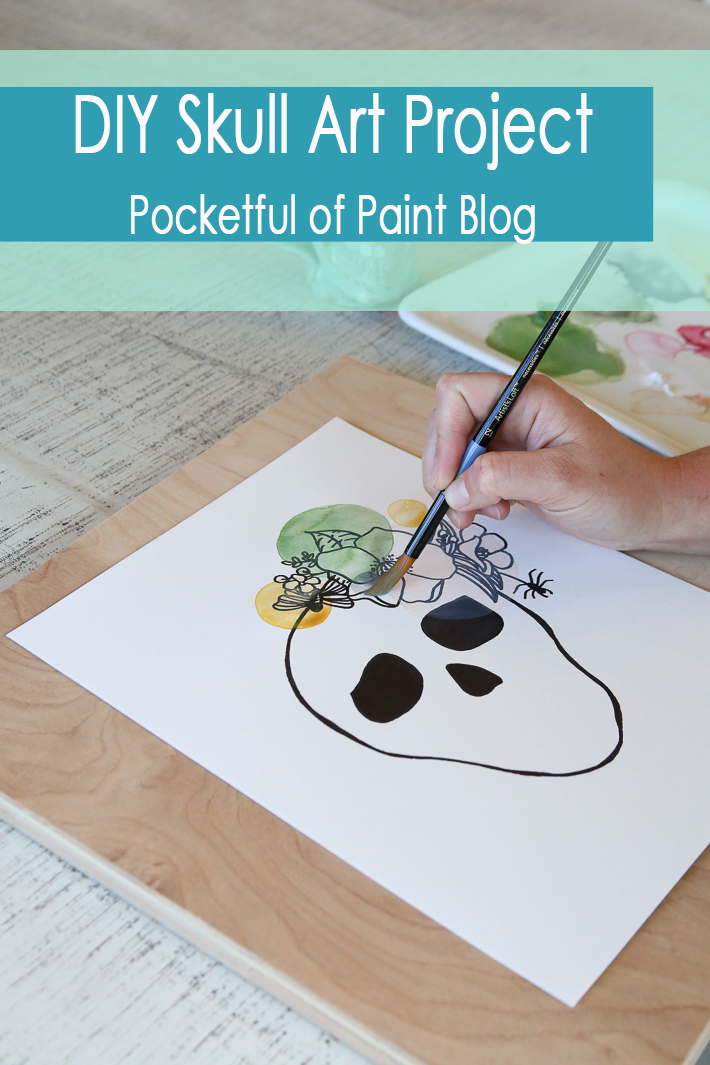
Trace your skull like before, or use it as a reference to draw onto your watercolor paper. Use a sharpie to draw over your pencil lines. THEN it is time to paint!
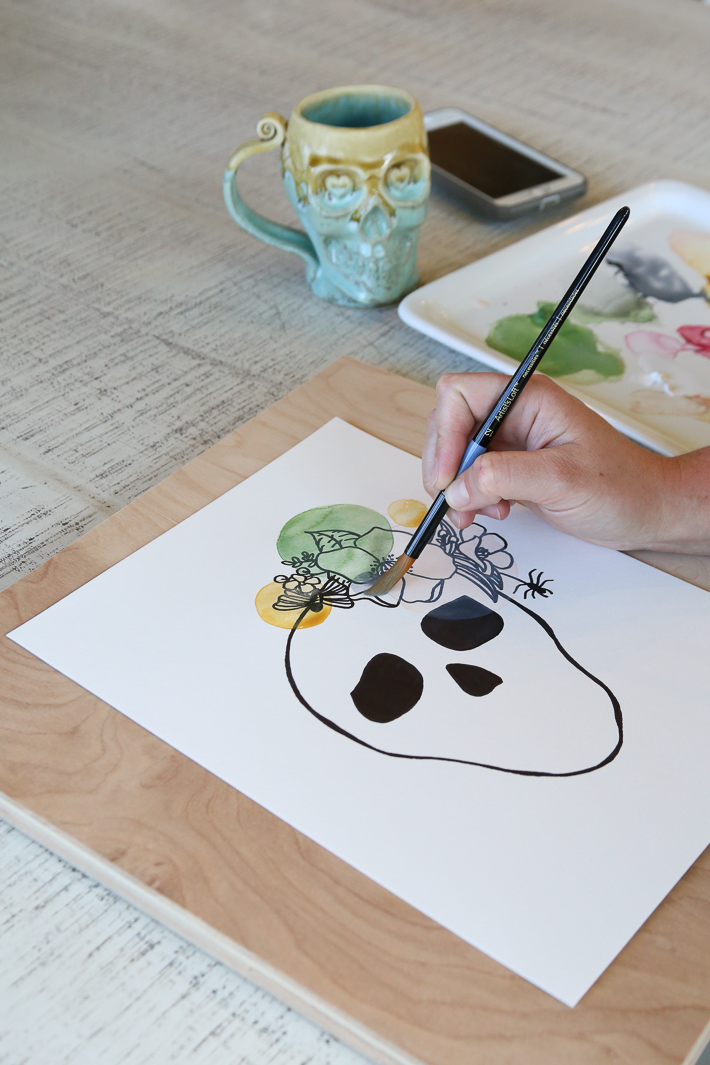
Paint three to five circles on your skull near the flowers on the upper right side of the paper. Let each circle dry before painting another one if you don’t want the colors to mix.
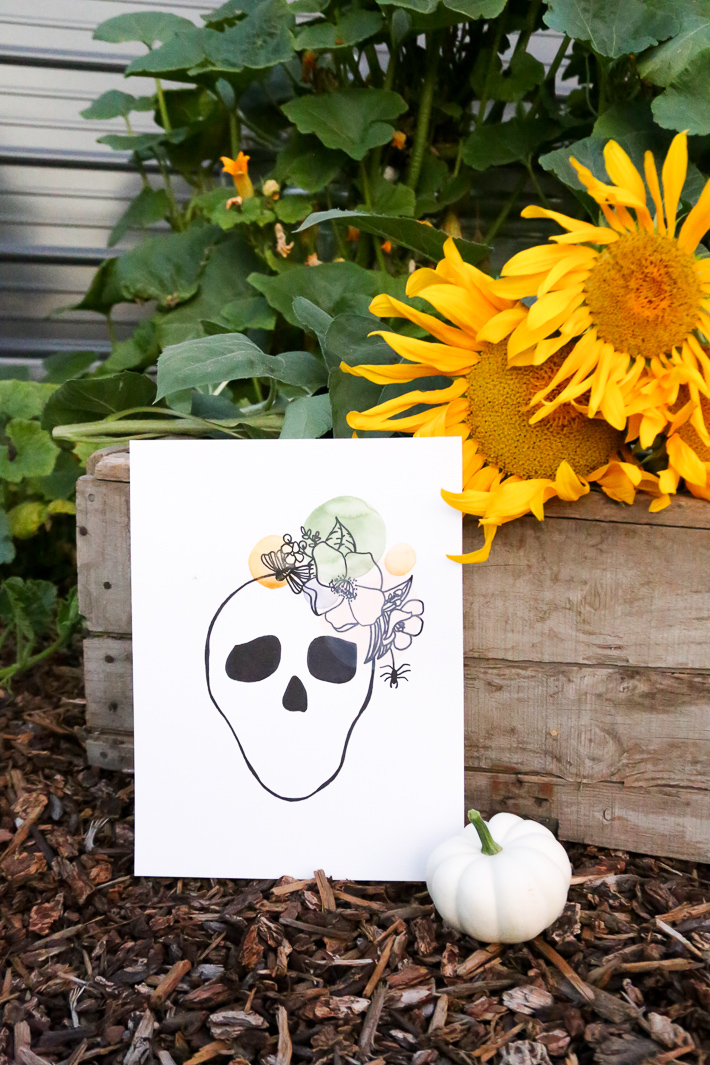
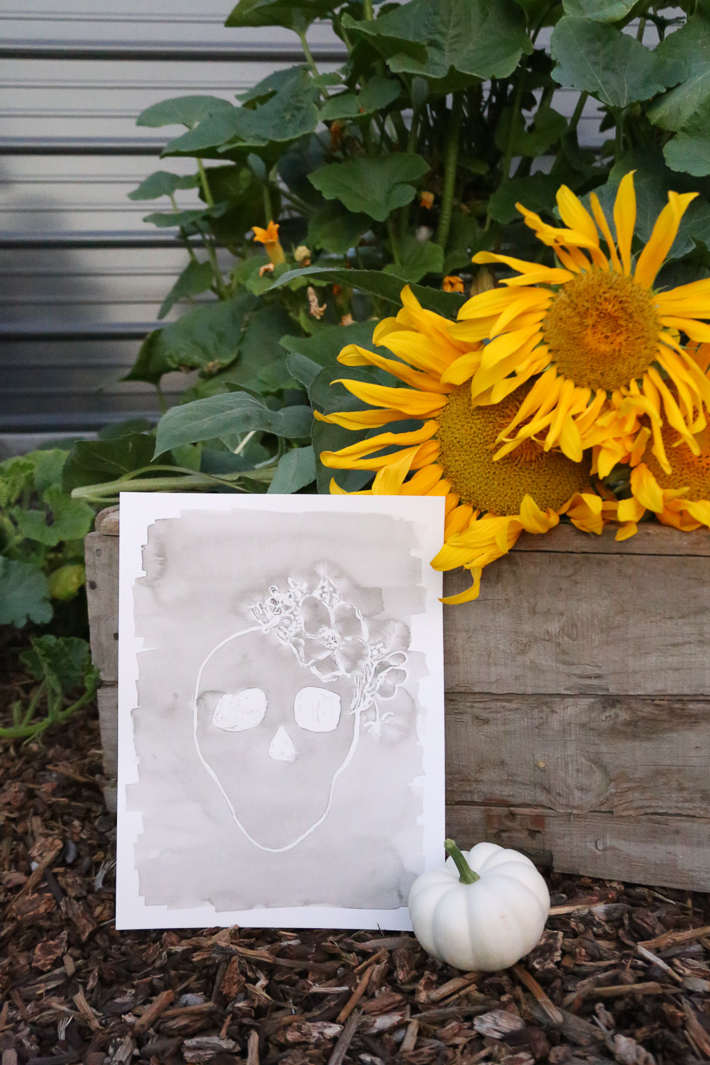
Now you have some fun spooky art to hang up this Halloween!!
I hope you enjoy these simple tutorials and can get crafty with your bad self this fall!!


Leave a Reply