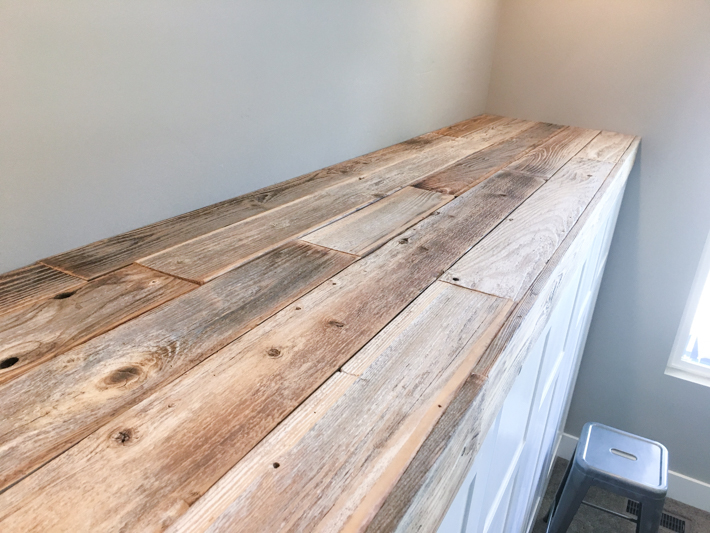
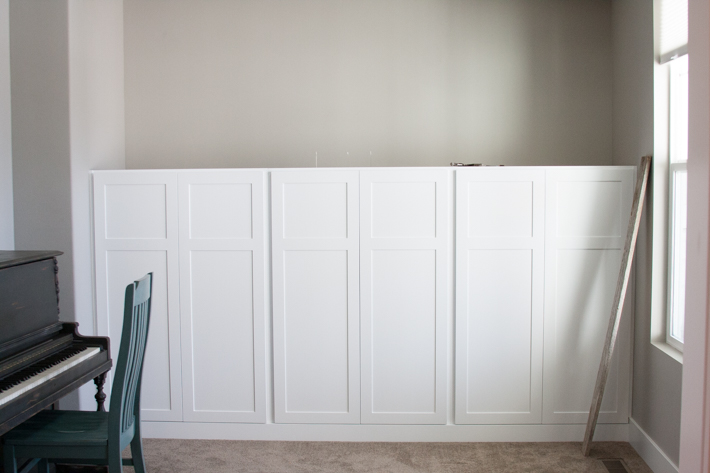
Ledge, counter, shelf, top part thingy….I am not sure what to call this. THE FREAK’N TOP OF THE CABINETS! Okay, let’s move on… For the top of my cabinets I wanted to do a chunky reclaimed wood shelf. I have loads of reclaimed wood that I have collected over the years that I wanted to use. I absolutely love raw wood and I love reclaimed wood. I’m head over heals for it!
To prep the wood to come inside my house I used a metal brush to scrap it a little to get gunk out of deep grooves and I sanded it with my electric sander. But! Before I could place these piece on top I had to build a frame for the wood to sit on.
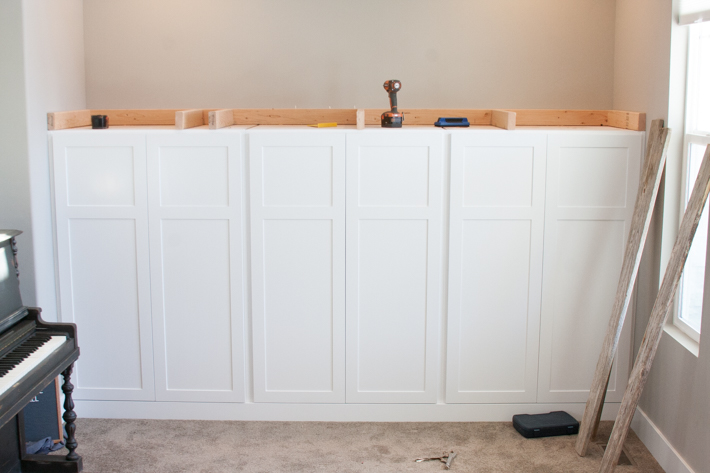
Using 2×4’s my husband and I built a frame for the reclaimed wood to be nailed to.
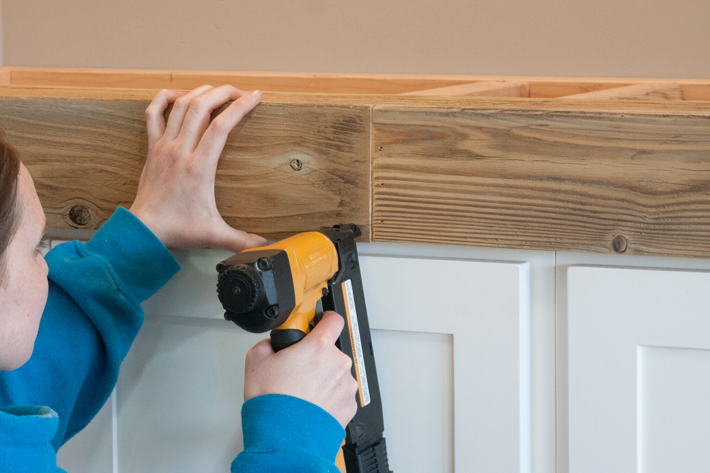
And then I went to town, cutting and sanding and nailing! I love doing these type of projects. I can’t lie though, my husband and I did argue for about an hour and a half before actually getting started. Not really arguing, mostly disagreeing on how to execute this project to ensure it would look good in the end. It’s a process people, you just got go with it. 🙂
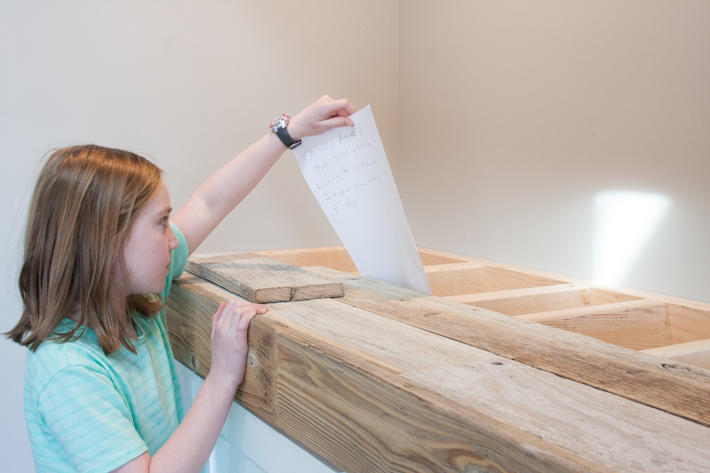
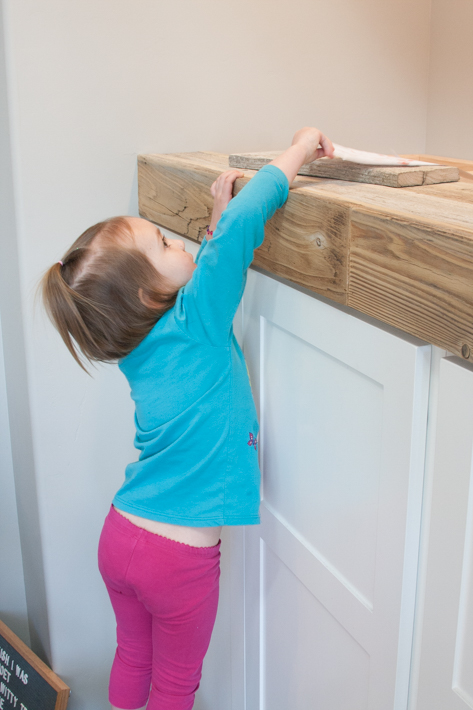
While we “politely disagreed” with each other we had our kids write notes to leave inside. They thought that was super cool.
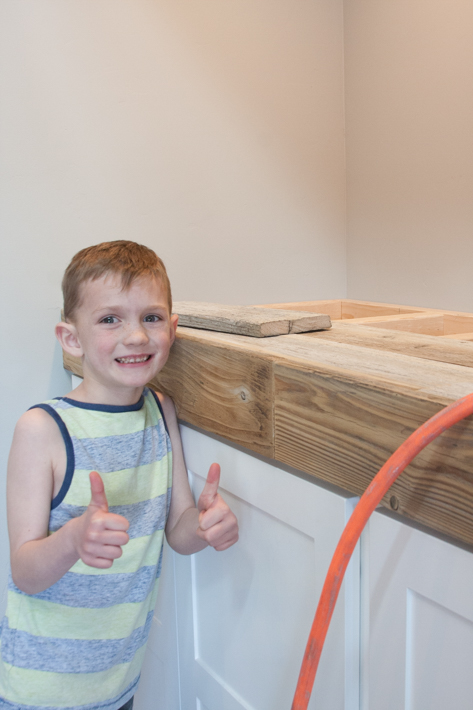
I think his shirt is on backwards hahaha….KIDS!
I started with the edges pieces and worked my way back toward the wall. Once I got to the wall I measured carefully and used my table saw to trim down those pieces to fit nice and snug.
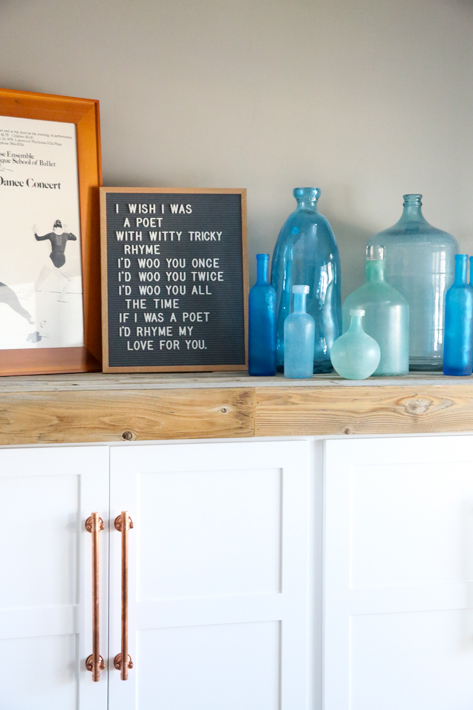
This might be one of my most favorite projects to date!
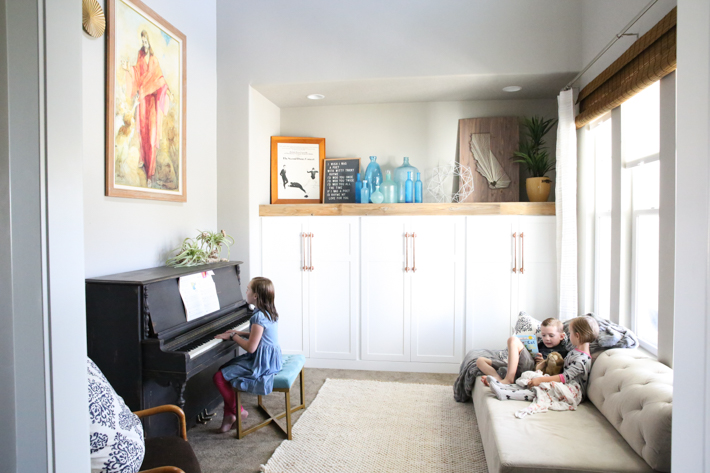
We now love being in this room.
Stay tuned for the full room makeover- start to finish!

Leave a Reply